
Hey there! If you are anything like me, you have probably spent way too many late nights tinkering with every new AI image generator that drops. Between Midjourney, Stable Diffusion, and DALL-E, my browser bookmarks are a total mess. A few months ago, a design friend of mine mentioned OpenArt AI, and honestly, I didn’t think it would be all that different from the usual suspects. But after using it for a solid couple of months for my freelance projects, blog headers, and some silly personal art pieces, my perspective has completely shifted.
I wanted to put together this thorough breakdown because there are a lot of surface-level reviews out there that don’t really touch on what it’s like to use day in and day out. Whether you are a total beginner trying to figure out what a prompt even is, or a seasoned designer looking for better control over your workflow, grab a cup of coffee and let’s dive into what makes this platform tick.
What Exactly Is OpenArt AI?
At its core, OpenArt AI is a cloud-based creative suite that puts a massive array of artificial intelligence tools right in your browser. Unlike some tools that only let you type in text and cross your fingers for a good result, this platform feels more like a digital art studio. It gives you control over style, composition, upscaling, and even lets you train your own models.
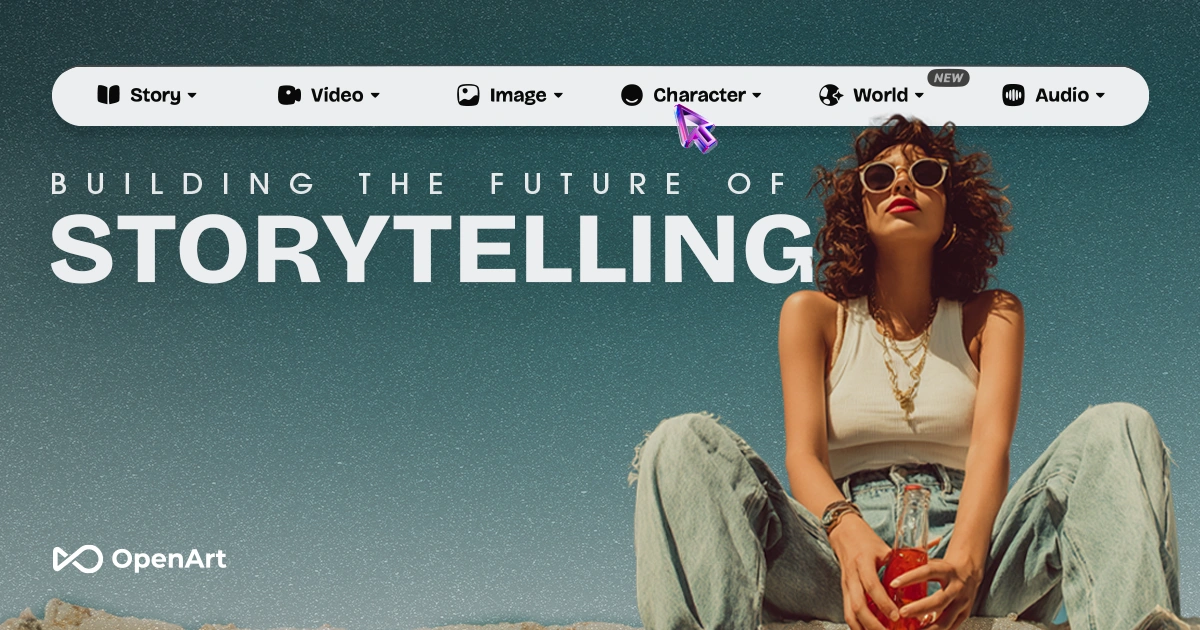
When I first logged in, I felt a tiny bit overwhelmed by the dashboard. There are so many tabs—image generation, sketch-to-image, stock variations, face retouching, and prompt guidance. But once I spent about twenty minutes clicking around, I realized how logical the layout actually is. It doesn’t rely entirely on Discord commands like some other popular platforms do (looking at you, Midjourney), which was a huge relief for my workflow.
My First Week Testing the Waters
To really test drive the platform, I decided to give myself a challenge. I needed to create a series of whimsical illustrations for a children’s story blog post I was writing. In the past, this would take me days of sketching on my iPad or hunting down royalty-free stock art that never quite matched my exact vision.
I started with the text-to-image feature. I typed in: “A cute little red fox wearing a tiny yellow raincoat, puddle jumping in a magical forest, digital watercolor style, soft lighting.” Within seconds, the system spat out four distinct variations. And I have to say, I was genuinely impressed by the composition right out of the gate. The foxes actually had the right number of legs (always a gamble with AI!), and the watercolor bleeding effect looked surprisingly organic.
Here is where I ran into my first little hiccup, though. One of the foxes had a weird floating rain boot. Classic AI artifacting. But instead of having to regenerate the whole thing and lose the good parts of the image, I used their inpainting brush. I simply brushed over the weird boot, typed “rain boot on foot,” and hit generate. Fixed in ten seconds flat. That single feature saved me so much frustration.
Deep Dive Into the Standout Features
After playing around with basic generation, I started digging into the features that really set OpenArt AI apart from the competition. Here are the ones I find myself using the most in my daily routine:
1. Sketch to Image
This is probably my favorite tool on the entire site. I am terrible at drawing fine details, but I can draw basic stick figures and rough shapes. I took a quick scribble of a futuristic cityscape I drew on a napkin, took a photo with my phone, uploaded it, and added a prompt about neon cyberpunk alleys. The AI used my exact perspective lines and building placements to generate a gorgeous, highly detailed sci-fi street scene. It felt like magic.
2. Stock Variations
If you have an image you already love—whether you made it on the platform or uploaded a photo from your own camera roll—you can generate endless variations while keeping the core style or subject intact. This is incredible for branding work when you need a consistent look across multiple social media posts.
3. Real-Time Generation
As you type your prompt, the image literally evolves right before your eyes on the screen. While it can be a little resource-heavy and sometimes gives you sensory overload, it is an amazing way to brainstorm ideas rapidly without waiting around for batch renders.
4. Custom Models and Fine-Tuning
If you want to get really nerdy, you can train models on specific faces, objects, or art styles. While I haven’t done extensive training myself, I have browsed the community models, and the level of niche creativity available is mind-blowing. People have trained models for specific anime styles, vintage photography looks, and hyper-realistic product rendering.
What Other Users Are Saying
Of course, my experience is just one piece of the puzzle. Before writing this, I spent some time lurking in community forums, Reddit threads, and creator groups to see how other everyday users feel about the platform. It’s safe to say opinions are generally very positive, though people definitely have their favorite tools.
Mark T., a freelance graphic designer from Austin, told a community board:
“I was skeptical about moving away from my local Stable Diffusion setup because of the control it gives me, but OpenArt bridges the gap. Having cloud rendering combined with precise control nets right in my browser saves me hours of hardware headache every week.”
Sarah L., a fantasy author who designs her own book covers, shared:
“The prompt assistance and creative community changed everything for me. I used to struggle to get the lighting right for my character portraits, but with the inpainting and variation tools, I can finally bring the exact people from my imagination onto the book cover.”
And David K., a marketing manager, noted:
“For quick social media assets and ad variations, this is my go-to tool. It’s way faster than waiting on design contractors for minor graphic tweaks, and the quality keeps getting better with every update.”
Reading through comments like these made me realize that my workflow isn’t unique—so many creators are using this platform to cut down on tedious production tasks and focus more on big-picture creativity.
The Learning Curve and Potential Roadblocks
I want to keep this completely real with you. No software is perfect, and OpenArt AI does have a few quirks you should know about before diving in.
First off, the sheer number of options can lead to decision fatigue. When you have dozens of style filters, multiple model choices, upscalers, and sliders for creativity and prompt weight, it is easy to spend an hour tweaking one image just because you can. Sometimes you just have to step back and say, “Okay, this version looks great, I’m calling it done.”
Secondly, while the free tier is generous enough to let you test the waters and see if you like the interface, you will burn through your free credits pretty quickly if you get hooked like I did. The paid plans are reasonably priced compared to hiring a freelance illustrator for every little project, but it is still a subscription to add to your monthly software budget.
Finally, like all AI tools, it occasionally struggles with complex text inside images or hyper-specific hand gestures. While it has gotten miles better over the last several months, you should still expect to do a little bit of cleanup or regeneration if your project requires absolute perfection in those specific areas.
Tips for Getting the Best Results
Through trial and error (and a whole lot of wasted credits during my first week), I’ve picked up a few best practices that drastically improved my output:
- Be specific with adjectives: Instead of typing “a dog,” try “a fluffy golden retriever sitting on a wooden porch during golden hour, cinematic lighting, highly detailed.” The AI thrives on descriptive language.
- Use negative prompts: Don’t skip the negative prompt box! Telling the system what you don’t want—like blurry, deformed, low quality, or extra limbs—cleans up the final render immensely.
- Leverage community prompts: Look at what other users are creating on the platform’s explore page. You can often see the exact prompts and settings they used, which is an amazing way to learn advanced prompt engineering techniques.
- Start low, upscale high: Generate your initial ideas at a smaller size and standard settings to save credits, then use the built-in upscaler once you find an image you love.
Final Thoughts: Is It Worth Your Time?
At the end of the day, my workflow has genuinely changed for the better since I started incorporating this tool. Whether I need a quick mood board, conceptual art for a writing project, or custom graphics for social media, it has become my digital Swiss Army knife.
If you are tired of juggling twenty different browser tabs, fighting with local software installations, or feeling limited by basic single-feature generators, I strongly recommend checking it out. You can test out the core features without jumping through hoops, and seeing your own ideas come to life in a matter of seconds never really loses its thrill.
Ready to see what you can create? You can check out the platform and start experimenting with your own prompts right here:
Have you tried out this tool yet? What did you think of the results? Drop a comment below and let’s chat about your favorite prompts and workflows!